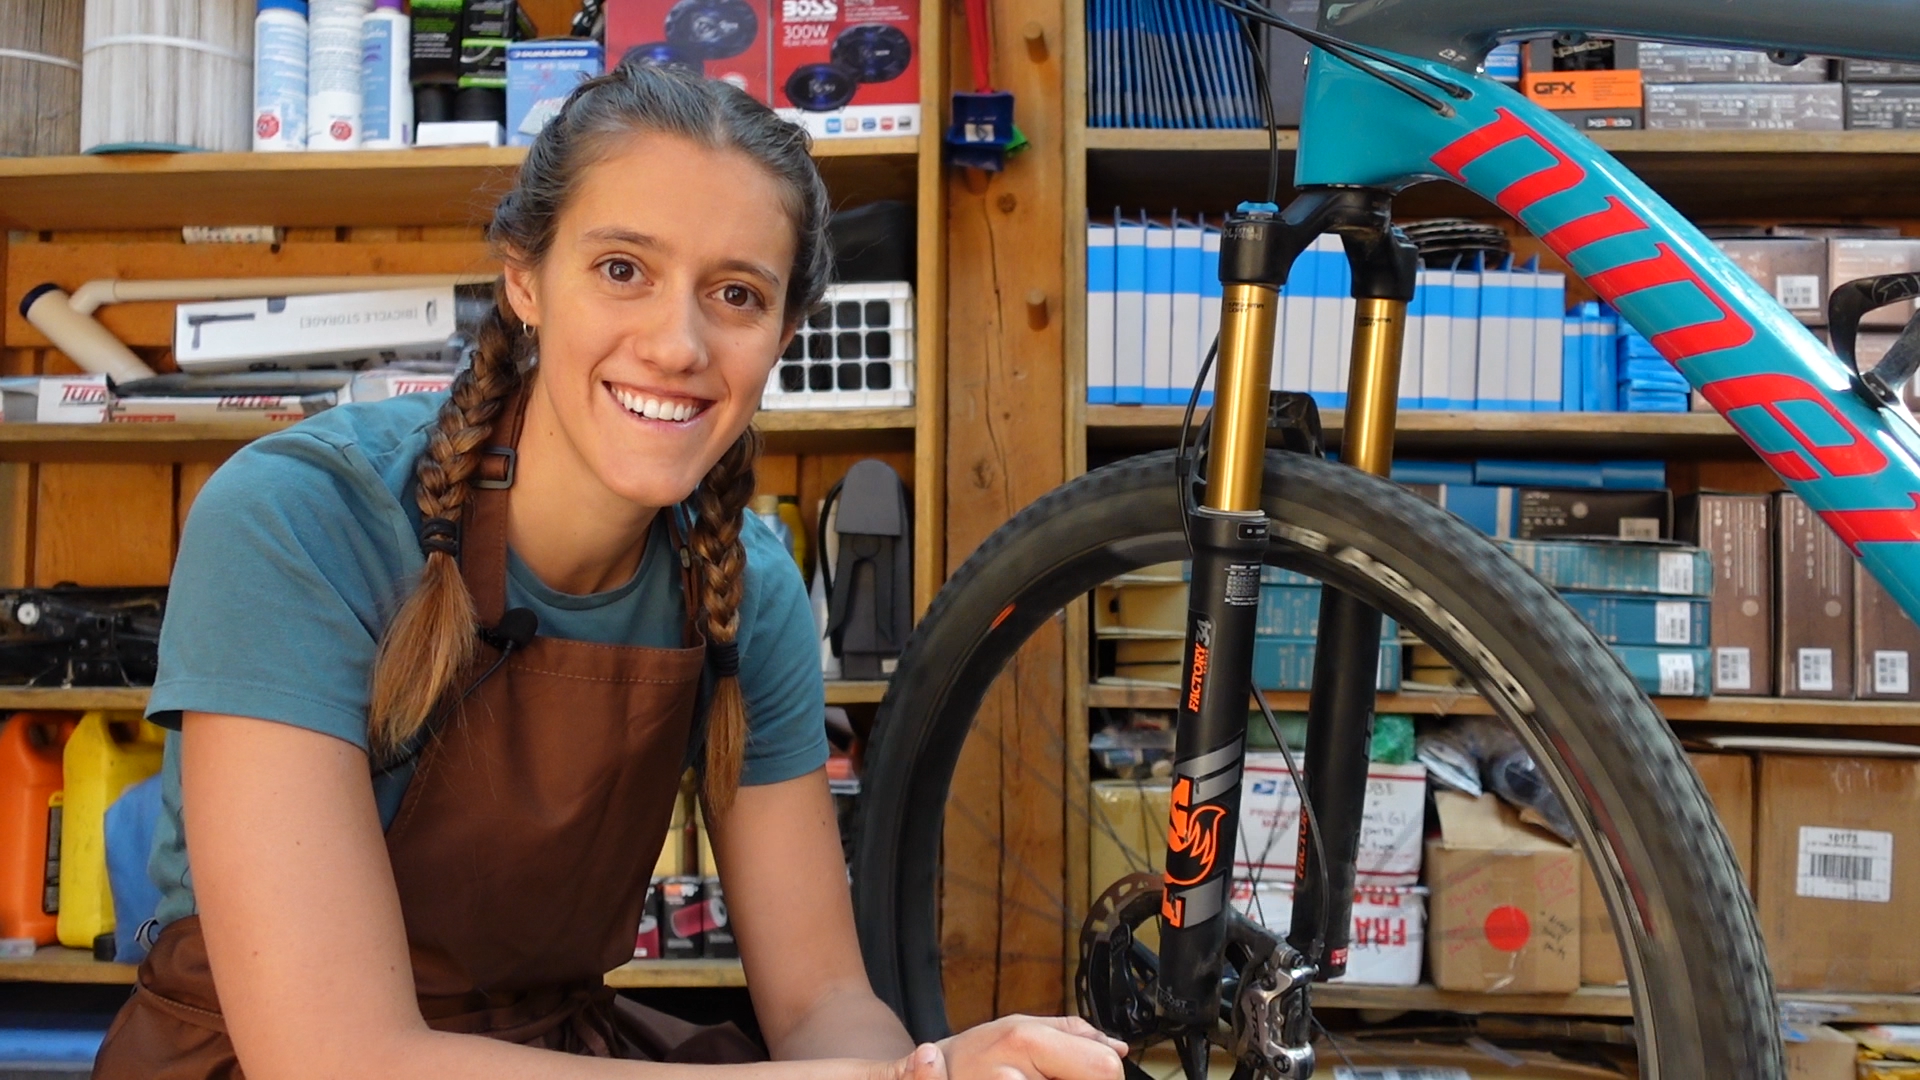
Hi PEARLiZUMi crew! My name is Syd Schulz and I’ve been a PEARLiZUMi athlete since 2018. Unfortunately, in 2020 I suffered a major injury that kept me off the bike for the entire year. This plus COVID made for some pretty rough times. One of the ways I coped was by learning to wrench on my own bike. Previously, I could barely change a flat tire, but I had a good teacher (my husband, Macky), and working on bikes gave me a way to keep my sanity and to stay involved with bikes. Also, my bike maintenance lessons were pretty hilarious, and I found myself making a LOT of dumb mistakes — the kind of mistakes you don’t usually see in bike maintenance tutorials on YouTube. So, in October, we started publishing these lessons online, so that others could learn alongside me and create a space for pressure-free, beginner-friendly bike maintenance tutorials. And our channel SYD FIXES BIKES was born.
Over the next few months, I’ll be sharing some of our videos here on the PEARLiZUMi blog. If you’re just starting to ride or just starting to do your own bike maintenance, you’re in the right place!
In this video, we learn how to stop disc brake rub. You know that annoying “shink shink” noise coming from your front or rear wheel? That’s your disc brake rubbing against the brake pads. And it’s not just annoying, it’s slowing you down, too.
For this task, you will need:
1. Allen keys
2. Rotor truing tool (or an adjustable wrench)
3. Scissors
4. Small Piece of scrap paper
METHOD #1: The Easy Way
The good news is that “the easy way” works 80% of the time. Simply loosen your brake mount bolts until the caliper is loose. Then spin your wheel and once it is spinning, pull the brake lever until the pads bite and the wheel stops. Re-tighten the brake mount bolts WHILE STILL HOLDING THE BRAKE LEVER.

METHOD #2: The Hot Dog paper
If “the easy way” fails, this simple hack often does the trick. Take a small piece of paper (approximately 1×2″) and fold it long ways (also known as hot dog style, but apparently only if you went to elementary school in the Midwest). Take off your caliper and put the paper on your brake rotor — in this scenario, the rotor is the hot dog. Put the caliper back on over top of the paper. Pull and hold the brake lever. Tighten the bolts. Spin the wheel to remove the paper.

METHOD #3: The Hard Way (adjust manually)
Unfortunately, for whatever reason, sometimes neither of the previous methods work. In this case, you can try a manual adjustment. This is exactly what it sounds like. Undo the brake mount bolts until the caliper moves freely. Then, line up the caliper so there is equal space on either side. Retighten the bolts. Simple, but kind of a pain in the butt to get right.

BENT ROTOR?
Sometimes you might get the brake centered but there is still a pinging noise at one point on the rotor. This likely means your rotor is slightly (or not so slightly) bent. Spin the wheel back and forth through the caliper, watching to see exactly where and on what side, the rotor is hitting. Then carefully bend it in the opposite direction using a rotor truing tool or an adjustable wrench. If you’re stuck in the middle of nowhere with no tools, it’s definitely okay to use your hands, just make sure the rotor isn’t hot and clean your hands as best you can as contaminants (like chain lube, grease and brake fluid) getting on the rotor can affect braking power.

If you’ve tried all of these methods and nothing works, you may have a stuck piston. If you pull your brake lever and see only one brake pad is moving, then that is probably what is going on. Unfortunately, fixing a stuck piston is slightly more complicated and might mean a trip to the shop if you are a beginner mechanic!



Comments